Table of Contents
Welcome to the fifth article of the Sonic Battle (GBA) Renderer series.

These are the steps that the demo renderer executes every frame. The rest of the articles in the series will cover them in detail.
Steps
Main loop (general)
- Poll inputs
- Apply camera movement
- Update camera matrices
- Compute tilemap affine matrix (shared by both tilemaps)
- Compute the affine matrix for each axis-aligned wall direction
- Compute the affine matrix for each 45-degree angle wall direction
- Compute view-space positions for both tilemaps
Main loop (first floor)
- Draw the first floor tilemap
- Update drop shadows + find their view-space positions + group them by floor (first or second)
- Draw the first floor drop shadows
- Groups walls and objects by floor + find their view-space positions + depth-sort each floor’s group separately
- Draw walls and first floor objects
Main loop (second floor)
- Draw the second floor tilemap
- Draw the second floor drop shadows
- Draw the second floor objects
Note - draw
The term draw is technically inaccurate in the GBA’s context but good enough for my purposes.
Frame breakdown

Background color
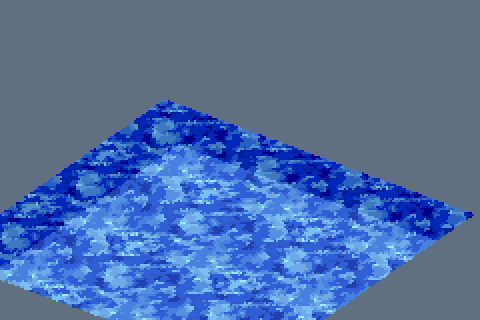
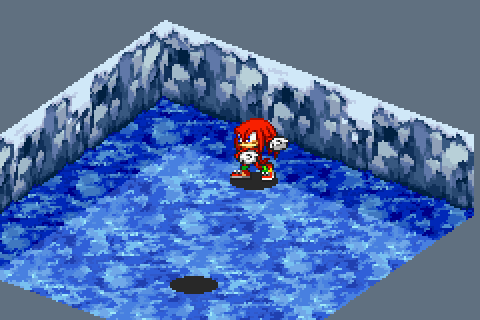
Bottom tilemap (first floor)
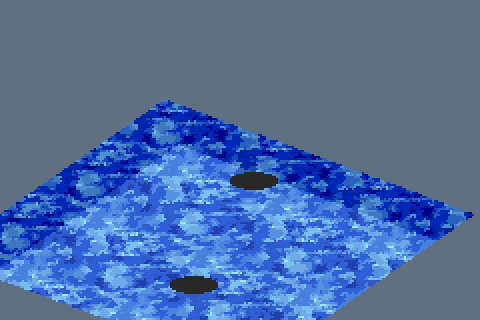
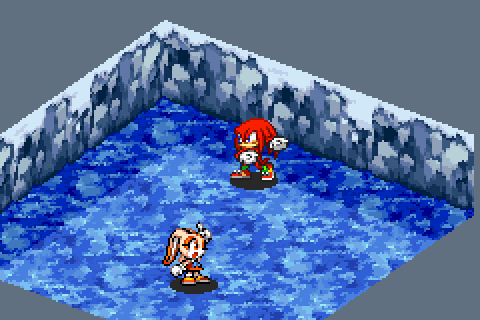
Drop shadows on first floor
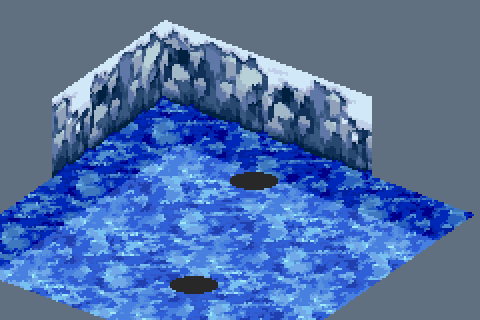
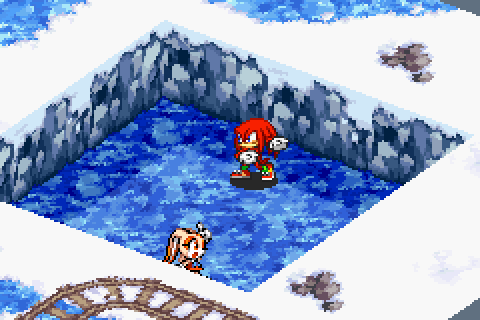
Depth-sorted walls on first floor
Note that contrary to what the image suggests, every chunk of the wall is treated as a separate object (they're hardware sprites). They're lumped together here only to save time and space.
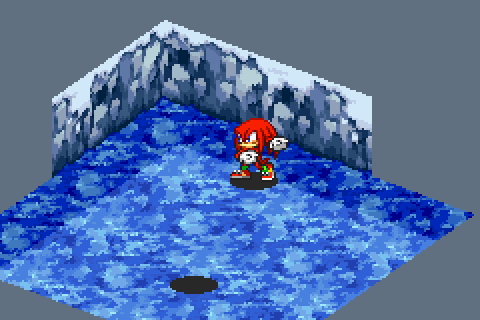
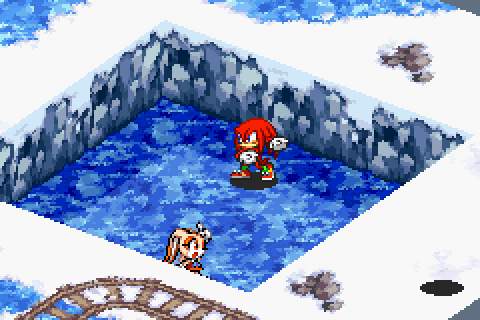
Depth-sorted sprite on first floor
Depth-sorted walls on fist floor
Depth-sorted sprite on first floor
Done with the first floor
Top tilemap (second floor)
Drop shadows on second floor
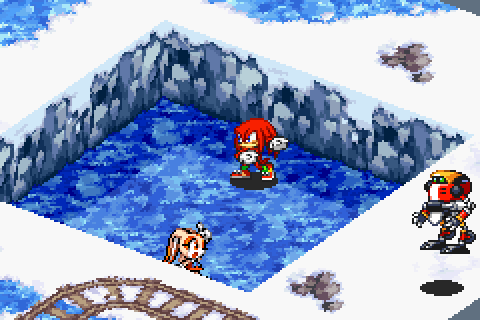
Sprite on second floor
There are never any walls on the second floor. The frame is complete.
The next article finally dives into the implementation! It starts with a discussion of the camera and the tilemap rendering.